DIY Scalloped Bench Backs
The Wakery has been open for several months now and is thriving! It was a pleasure to be part of such a fun project. Today, I’m sharing with you another DIY from that space—the scalloped bench backs.
Custom upholstery is expensive and was not in the budget, so a DIY was the move. We wanted there to be something soft for people to lean against. Previously the space had rectangle backs, but I wanted to create a more interesting shape. The building has arched windows in the front, so that inspired the scallops. I also incorporated scallop shape in one of the tiles and the back bar header.
Watch the video below for a step-by-step.
If you’re interested in more related DIY projects, check out the blog on the DIY Mini Lampshades for The Wakery.
Supply List
Plywood
Foam
Batting
Fabric
Scissors
Spray adhesive
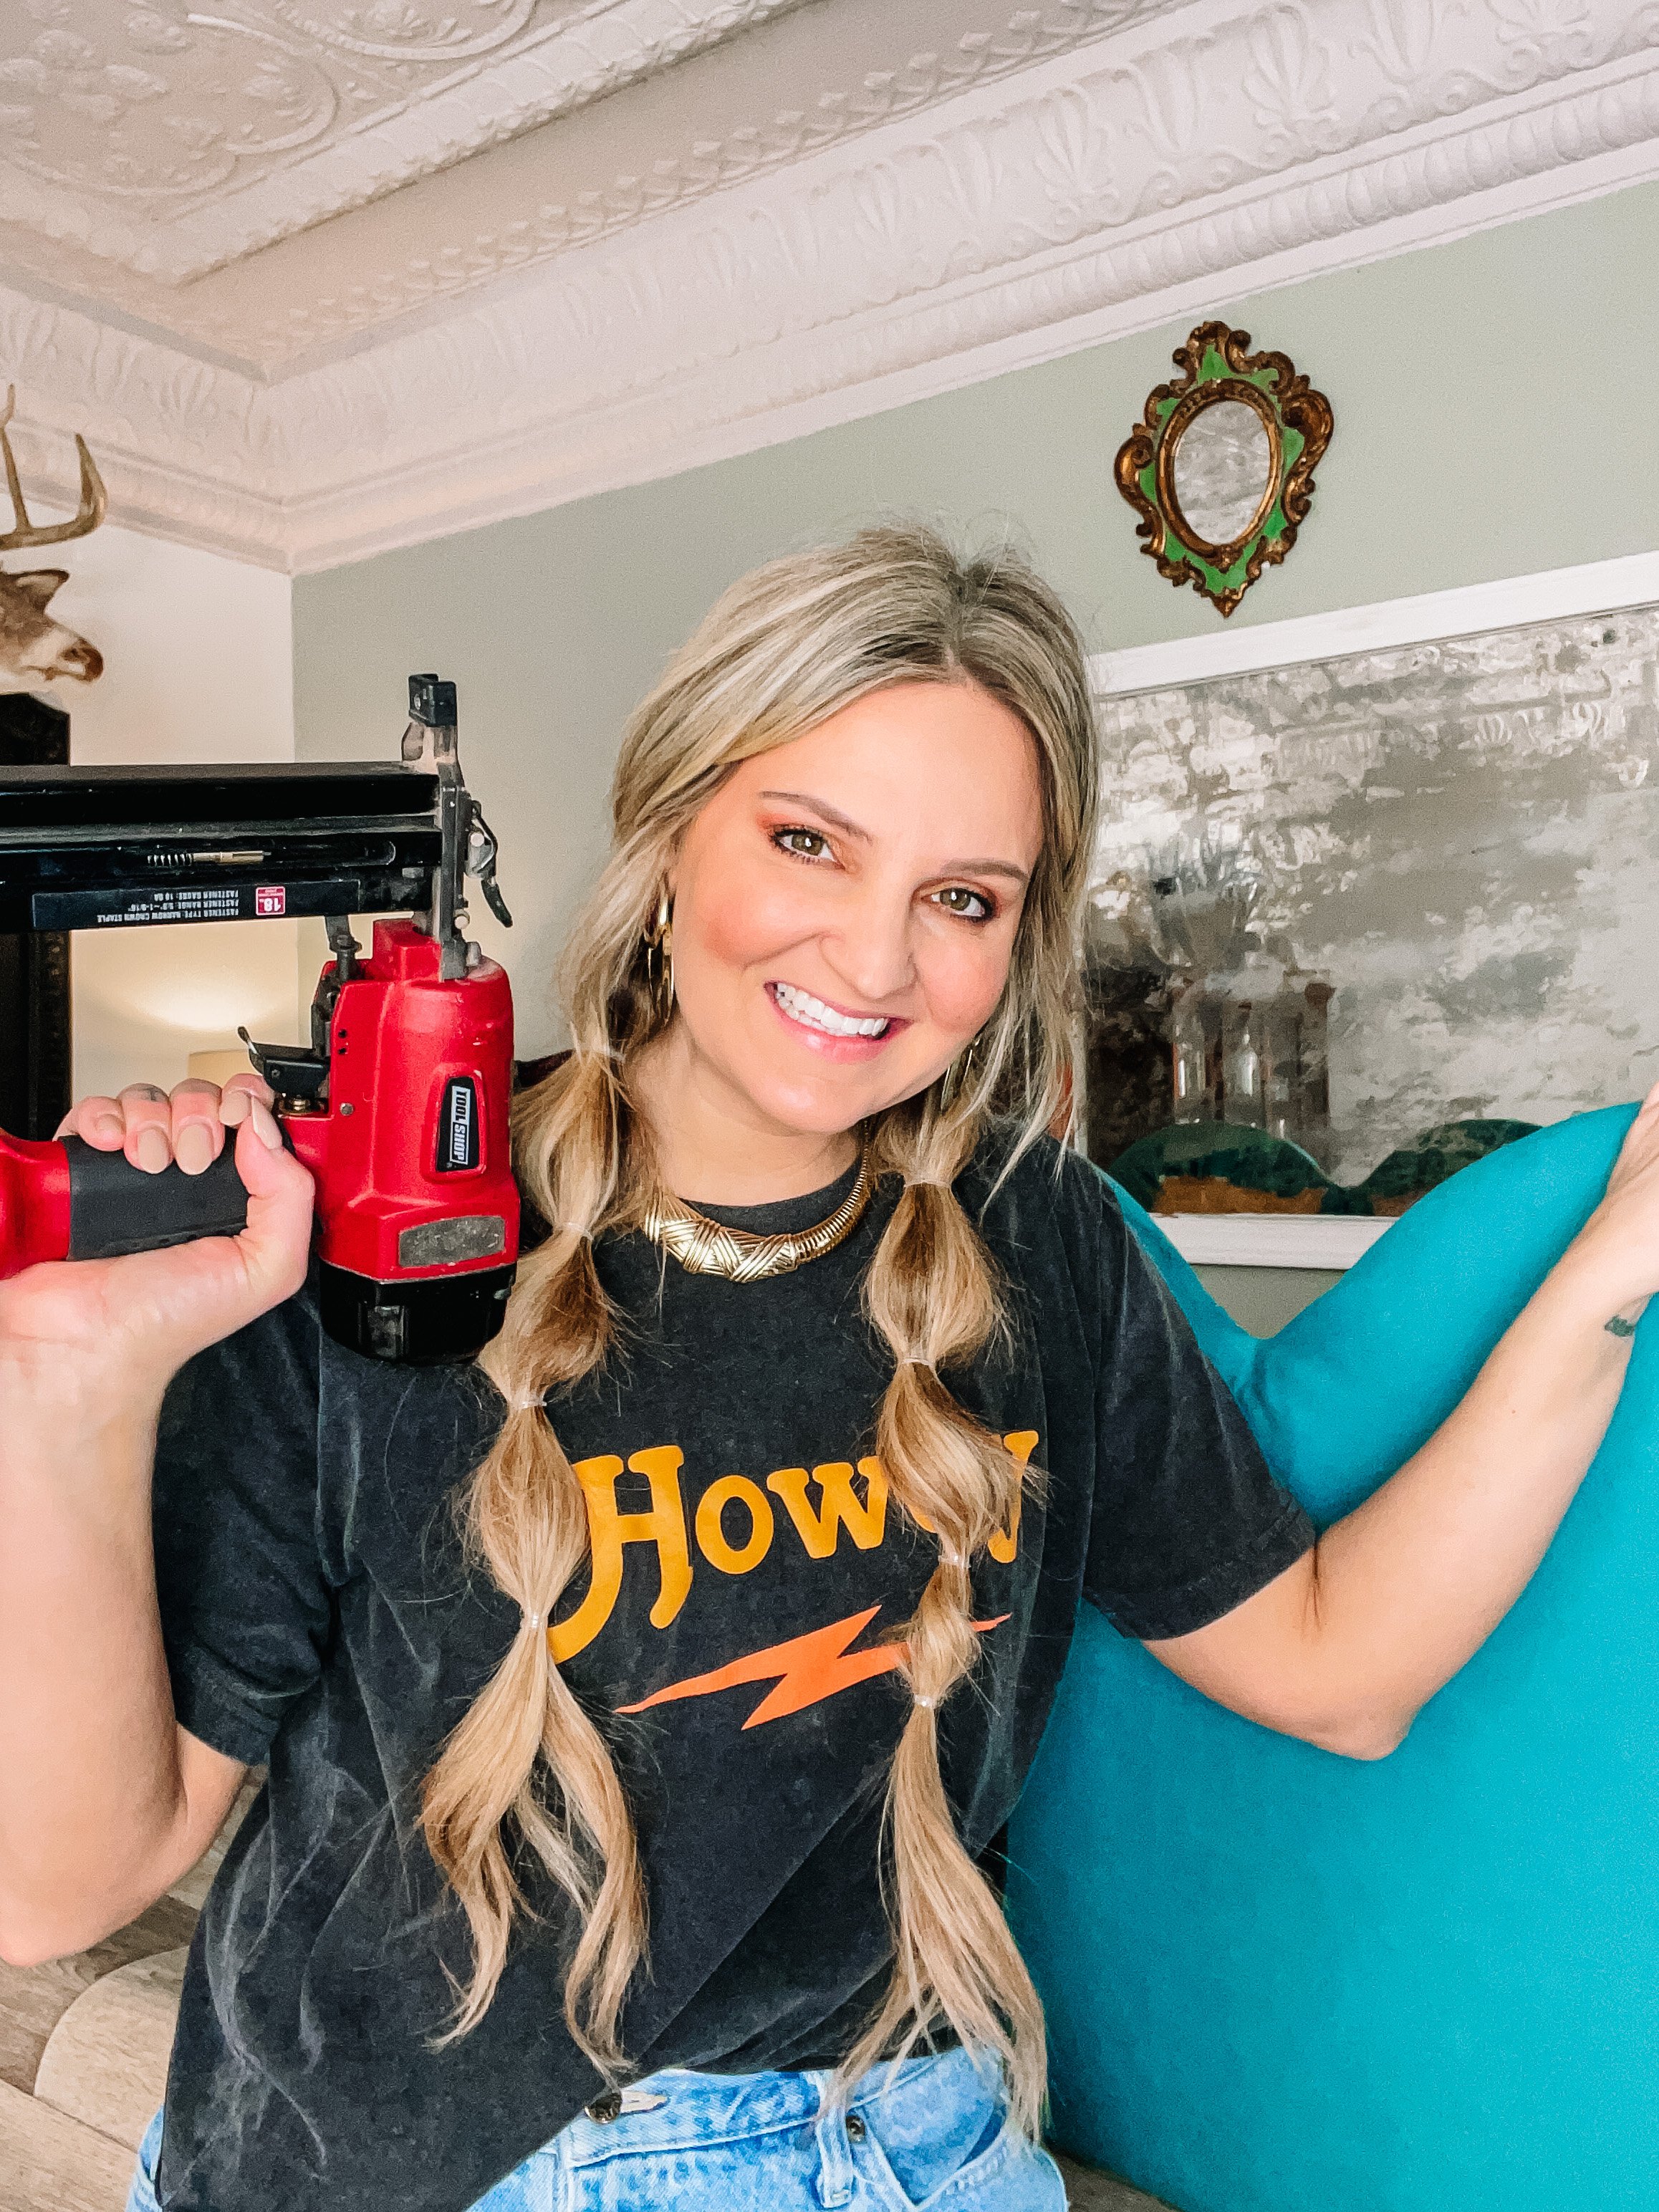
Staples & staple gun
Electric carving knife
How To
Cut plywood. Once we decided on the size, Alex cut out the plywood. This is the structure of the bench backs.
Add foam to the plywood using a spray adhesive.
Trim the foam using the electric carving knife.
Cover foam with batting and secure to the back with staples.
Cover batting with fabric and secure to the back with staples.
Install. Alex made wooden cleats to hang on the wall.
